
Installing engineered hardwood floors can transform the look of your home. This guide explores four installation methods, helping you choose the best one for your project.
What is Engineered Hardwood Flooring?
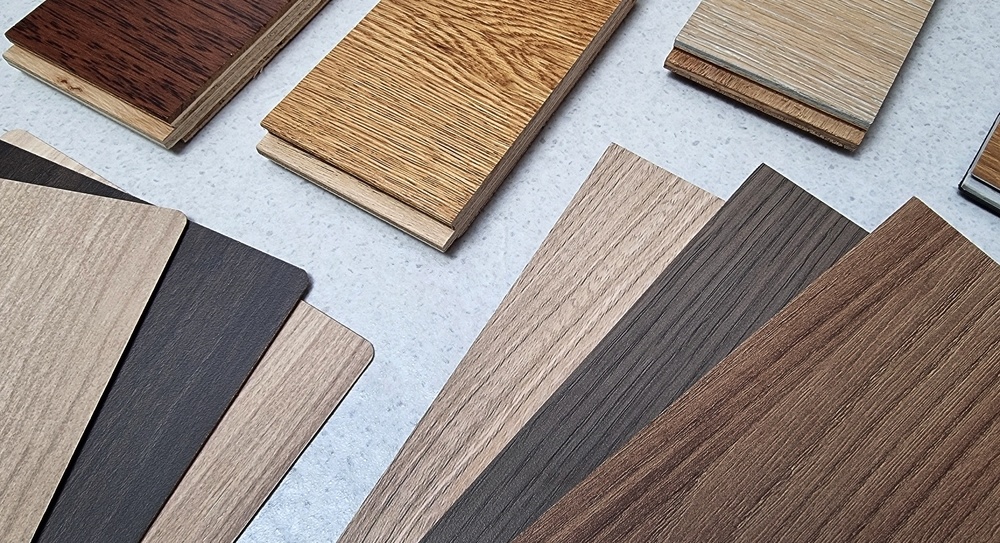
Engineered hardwood flooring offers the elegance of solid wood with enhanced durability and moisture resistance. It consists of several layers, including a natural wood veneer top, a core (high-density fiberboard, plywood, or stone-plastic composite), and sometimes an attached underlayment. This structure makes it more affordable and versatile than traditional hardwood.
Advantages of Engineered Hardwood
- Cost-Effective: Get the look of natural wood without the high price.
- Unique Appearance: Each plank features a natural wood veneer, ensuring no two planks are identical.
- Moisture Resistant: Some engineered hardwood is highly moisture-resistant or waterproof, depending on the core.
- Versatile Installation: Suitable for any room, including bathrooms, kitchens, laundry rooms, and basements.
Preparation for Installation
Acclimating the Planks
Before installation, allow the planks to acclimate to the room’s climate for at least 24 hours. This prevents expansion or contraction that could cause buckling.
Preparing the Subfloor
Ensure the subfloor is clean and free of debris, old nails, or staples. Install a moisture barrier or underlayment to protect against moisture, reduce noise, and even remove subfloor imperfections.
Cutting Engineered Hardwood
Properly cutting the planks is crucial for a smooth installation. Use a table saw, miter saw, circular saw or hand saw, and follow these steps:
- Wear a mask to protect against dust.
- Mark the plank with chalk or a pencil.
- Cut with the finished side up.
Installation Methods
Floating Floor Installation
The floating method is famous for its simplicity and DIY-friendly nature. It involves locking the planks together without glue or nails.
Tools and Materials:
- Tape measure, pen, safety glasses, knee pads, ruler, rubber mallet, tapping block, 1/4″ spacers, tile cutter, or table saw.
- Engineered hardwood planks, floor transitions, moldings, tongue, and groove glue (if required).
Steps:
- Place spacers between the wall and planks for a 1/4″ expansion gap.
- Start in the corner, interlocking the planks from left to right.
- Cut planks to fit as needed, staggering the joints for a natural look.
- Use a tapping block and mallet to ensure tight seams.
- Allow the floor to set for 24 hours before heavy use.
Glue-Down Installation
The glue-down method provides a permanent solution, ideal for high-traffic areas.
Tools and Materials:
- Tape measure, notched flooring trowel, pen, knee pads, safety glasses, cleaning gloves, bucket, ruler, rubber mallet, tapping block, 1/4″ spacers, tile cutter, or table saw.
- Engineered hardwood planks, floor transitions, moldings, and flooring adhesive.
Steps:
- Place spacers for a 1/4″ expansion gap.
- Apply adhesive to a small section of the subfloor.
- Lay the planks, connecting them with their tongue and groove.
- Use a tapping block and mallet to secure each row.
- Continue across the room, staggering planks and ensuring a tight fit.
- Allow the adhesive to cure for 24 hours before use.
Nail-Down Installation
The nail-down method is robust and suitable for those comfortable with a nail gun.
Tools and Materials:
- Nail gun, nail punch, knee pads, tape measure, pen, safety glasses, ruler, 1/4″ spacers, tile cutter, or table saw.
- Engineered hardwood planks, floor transitions, moldings, and matching wood putty.
Steps:
- Place spacers for a 1/4″ gap.
- Nail the first row 1 inch from the wall.
- Countersink the nails and fill holes with wood filler.
- Nail subsequent rows at an angle above the tongue.
- Continue until the floor is covered, then remove spacers and add transition strips.
- Avoid heavy use for 24 hours.
Staple-Down Installation
Staple-down installation is similar to nail-down but uses staples instead.
Tools and Materials:
- Staple gun, nail punch, knee pads, tape measure, pen, safety glasses, ruler, 1/4″ spacers, tile cutter, or table saw.
- Engineered hardwood planks, floor transitions, moldings, and matching wood putty.
Steps:
- Place spacers for a 1/4″ gap.
- Nail the first row and fill holes with wood filler.
- Staple subsequent rows at a 45-degree angle above the tongue.
- Continue, ensuring a tight fit.
- Remove spacers and add transition strips.
- Allow 24 hours before heavy use.
FAQ
- Is engineered hardwood waterproof?
- Some engineered hardwood with SPC core is 100% waterproof.
- Can I install engineered hardwood myself?
- Yes, all methods are suitable for DIY projects.
- What is the best installation method?
- It depends on your tools, skills, and the area of installation.
- Is it better to glue or float engineered hardwood?
- Glue-down is more permanent and ideal for high-traffic areas. Floating is more accessible to DIY and suitable for residential spaces.
- How long do engineered hardwood floors last?
- Depending on the plank thickness and wear layer, they can last 20-80 years.
- Is underlayment necessary?
- Yes, it prevents moisture, reduces noise, and evens subfloor imperfections.
- Can you lay engineered hardwood over existing floors?
- Floating installation is possible over laminate, vinyl, and hardwood. Glue-down and nail-down are not recommended.
- Where can I install engineered hardwood?
- It can be installed in any room, including bathrooms, kitchens, and basements.
- Should engineered wood acclimate before installation?
- Yes, acclimate for at least 24 hours to the room’s temperature and humidity.
- How do you cut engineered hardwood?
- Use appropriate saws, mark with chalk or pencil, and cut with the finished side up.
Conclusion
With the knowledge of these four installation methods, you’re ready to install engineered hardwood flooring like a pro. For professional hardwood floor installation in Virginia, contact our team here at FloorU!